Most board games all have one thing in common: you can’t play the game without using some form of game piece to represent each player. Almost everyone has played the game of Monopoly at some time in their lives. Kids fight over who gets to be the battleship, dog, or race car. That is part of the fun! Chess boards have different pieces representing Kings, Queens, Rooks and so on. The classic game of Aggravation uses glass marbles for game pieces. The board games described here in GarsGarbage are no exception.
Two of the full size games made out of wood, Aggarv8ion and Octosory, use marbles for game pieces as one option. Luckily finding marbles is a simple task. But Rainbow Raceway and Orbital Summation , as well as a smaller version of Octosory, all need something other than marbles to use for game pieces. My original solution for these games was to design and make different game pieces in a lathe or some other machine. Not everyone has access to a lathe, however. The people that own 3D Printing machines can make just about any size and type of game piece they can imagine, but that still leaves the majority of people looking for a better solution that is relatively cheap and easy to make.
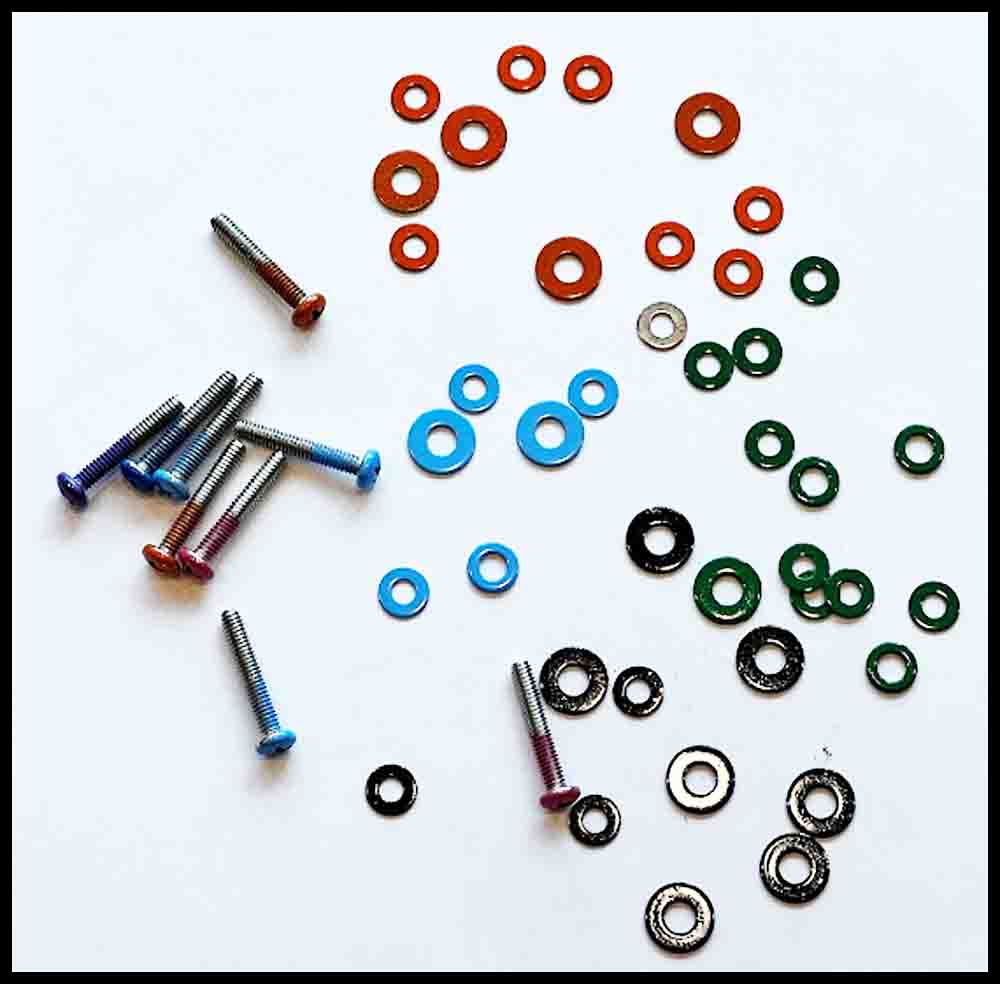
That solution is to make game pieces out of machine screws, washers, and nuts. They are available everywhere in hardware stores or can be purchased online with just a few strokes of a keyboard and a credit card. Spray some paint on them and they are ready for action!
Here’s a list of the screw sizes needed for the boardgames made in GarsGarage:
Orbital Summation: You will use 6-32 x 1″ stainless round head machine screws, along with 3/8″ outside diameter flat washers and 6-32 stainless nuts. Due to the small distance between holes in a few places, the diameter of the widest part should not exceed 3/8″.
Aggarv8ion and Octosory: For these bigger game boards made out of wood you can use either 16 mm marbles or game pieces made out of 8-32 x 1″ screws with 1/2″ outside diameter flat washers. (If desired, 10-32 screws may be used in the bigger boards. Be sure and use 13/64″ clearance holes instead of 3/16″.)
Games made out of foam poster board will use the 8-32 x 1″ screws instead of marbles.
Rainbow Raceway – bigger version: 8-32 x 1″ screws with 1/2″ outer diameter flat washers.
Rainbow Raceway – small version: For a Rainbow Raceway game made from a single 8 1/2″ x 11″ printed image, substitute 6-32 x 1″ stainless round head machine screws and nuts instead of using 8-32 screws. Use 3/8″ outside diameter flat washers. The holes drilled in wooden boards will be 5/32″ diameter instead of 3/16″. The pierced holes in foam poster board will be approximately 11/64″ or .172″.
Painting Tips
To hold the screws while you spray paint the upper half, drill 8 or more 3/16″ holes about 1/2″ deep in small pieces of scrap wood. The whole screw does not need to be painted. The fastest, easiest way to spray paint many pieces at at time is to take some old cardboard boxes and lay the scrap wood pieces on them when spraying. The flat washers may be grouped away from each other right on top of the cardboard. If you plan on making several different games it is easier to paint them all at once and keep some for future use or spares. Use a decent quality paint that will adhere to the screws and washers. Make sure there is no grease or oil coating on the parts before painting. Let them dry several days before assembling so the paint doesn’t chip.


Assembling the components
Working with small parts can be challenging. To make the job easier, use a medium size Phillips screwdriver (#2) along with two 11/32″ or 9mm wrenches for 8-32 nuts. One should be open end and the other a box end. Using a socket with a 1/4″ driver will make tightening the bottom nuts easier. I use a small pair of vice grips on the socket driver handle to get a stronger grip. See the pictures below.
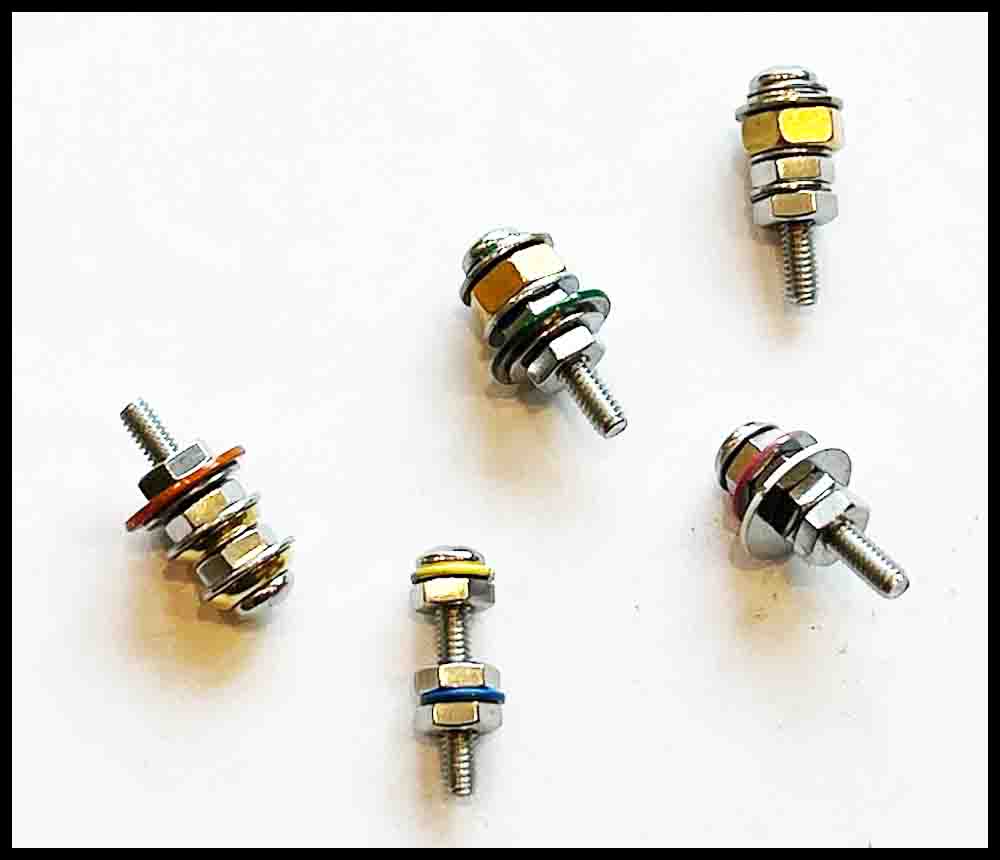
The directions that follow will make a simple but attractive missile, racecar, or space scooter. Of course, you can add different combinations of nuts and washers together to customize the game pieces.
1. Slide a flat washer onto the screw followed by a nut. It can be difficult to center the washer on the screw body. Finger tighten the nut and then drop the assembly into the box end side of the wrench. Once you have centered the flat washer, gently tighten with the screwdriver. If the parts stay lined up, tighten with the screwdriver enough so the parts can’t come apart on their own during use.
2. Twist another nut onto the screw, followed by either a plain or painted washer, then another nut. Leave about 5/16″ to 3/8″ of the thread exposed at the bottom, then drop the assembly into the socket, making sure the washer is centered. Use the open end of the wrench to secure the two nuts and flat washer. Finished!


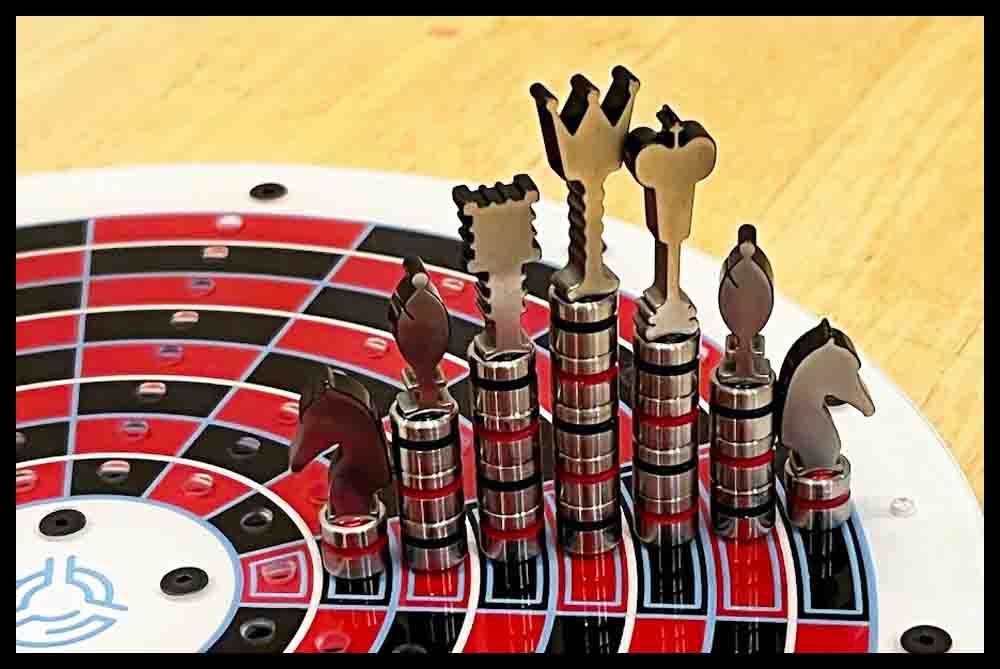
Ready to compete!


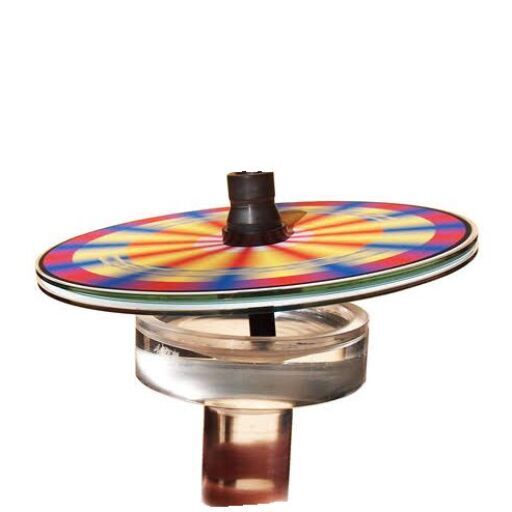
The following game pieces were made in a lathe or more sophisticated machines.
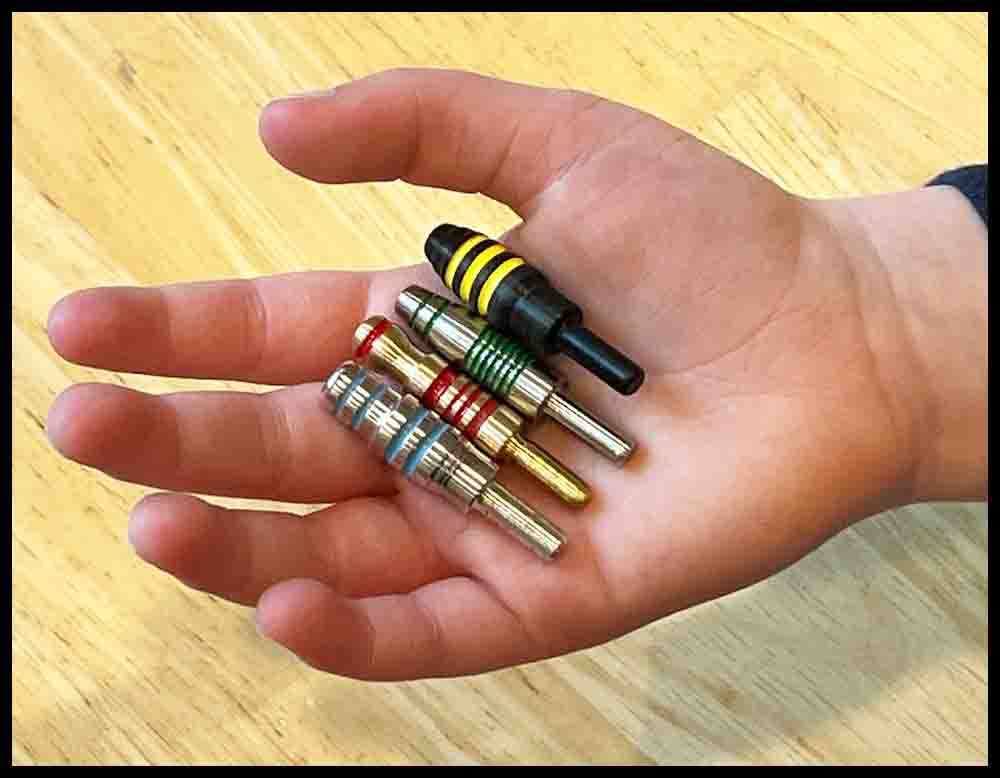
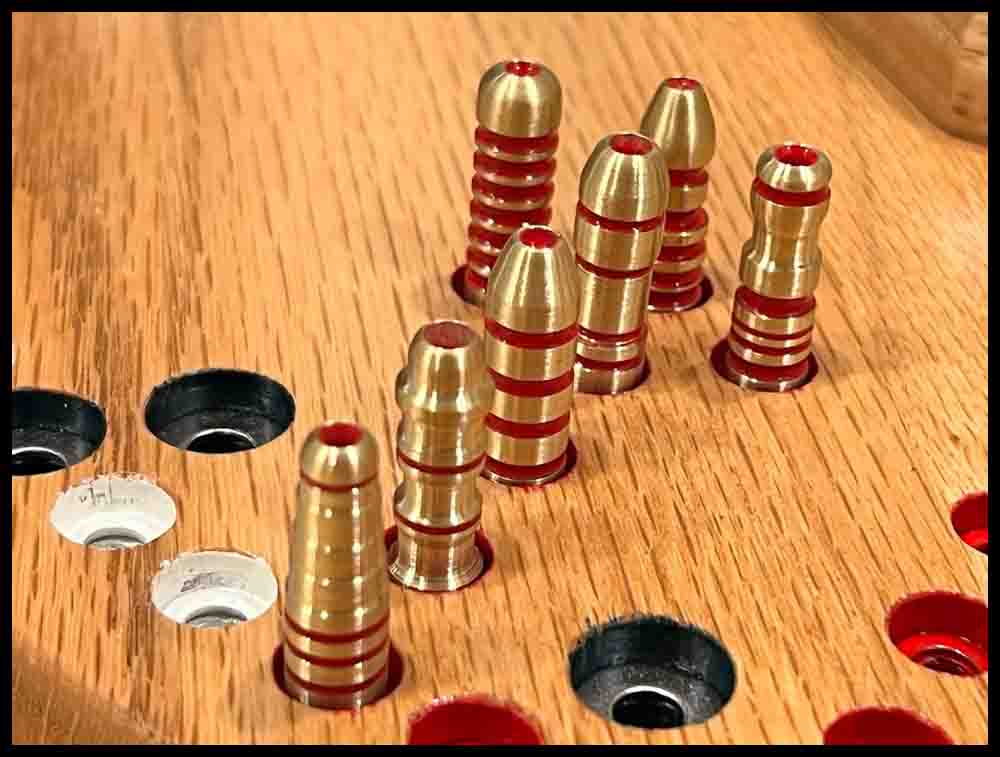
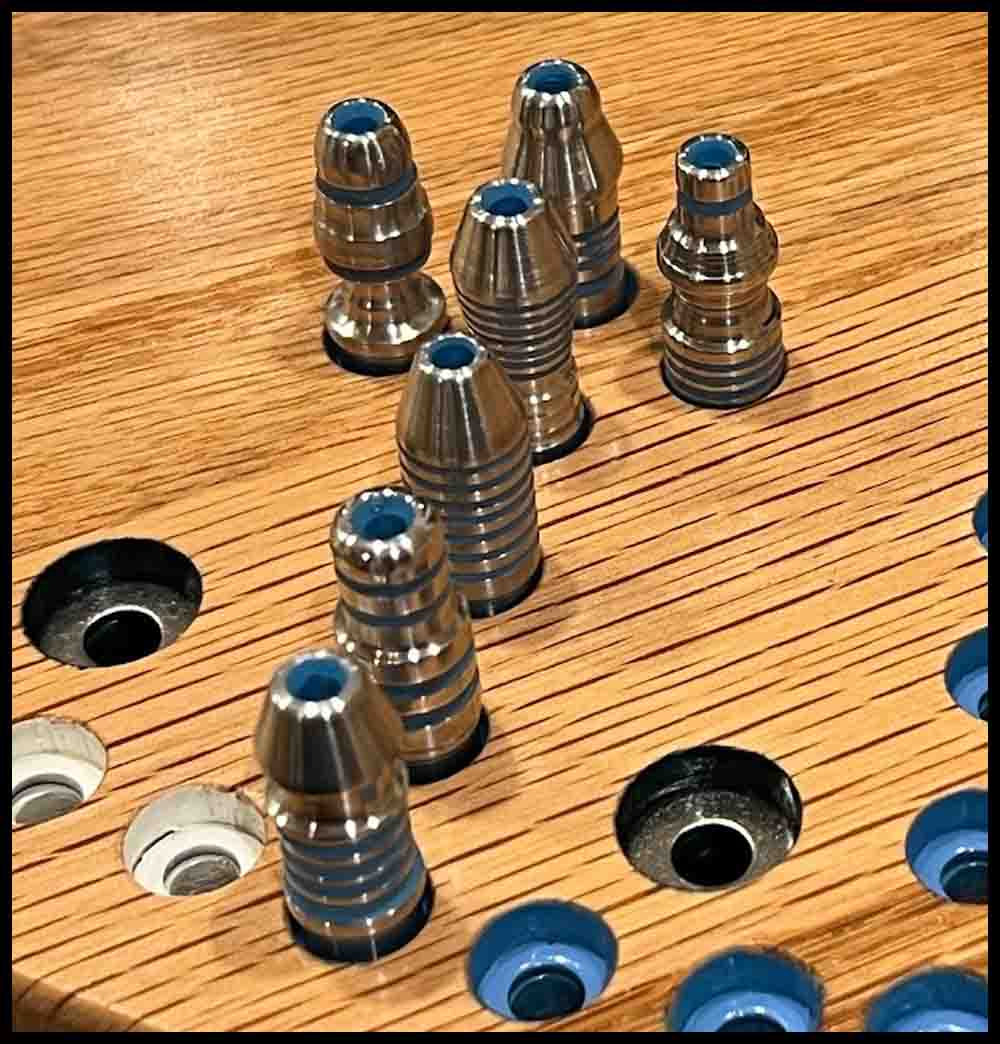


Making Missiles