
Firepit and Patio
Our backyard was essentially a steep sloping overgrown section of woods when we moved in. It was beautiful, but being restless, retired, and out of projects we slowly transformed the area into a terraced, more usable section of our property. We fenced the upper portion in to help keep the deer out. We could then plant more flowers that otherwise the deer would consume. During the pandemic we added a firepit and surrounding stone block patio. That was a tough job!
Firepit Construction Slideshow
To watch the slideshow click on the arrow to the right of the pictures. There are 32 pictures. Some of them have written descriptions that appear under each picture.

………………………………………………………………………………………………………………….Here’s where the firepit is going 
………………………………………………………………………………………….Almost immediately we started encountering rock 
………………………………………………………………………………Big rock! See how we move it in next picture. 
………………………………………………………………………………We rolled this rock on tool handles like the Egyptians. 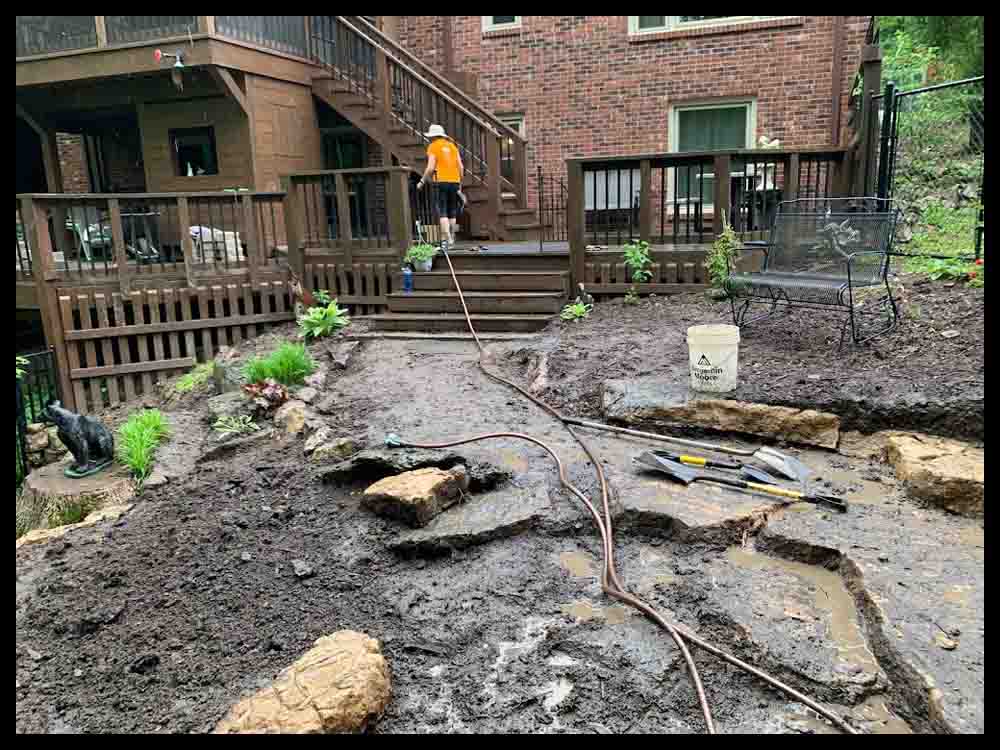
………………………………………………………………………………As we dug deeper we kept exposing stone 
………………………………………………………………………………Had to buy a jackhammer! 
………………………………………………………………………………Rock cleared away for firepit and drain 
…………………………………………………………………………………Concrete mix for the base 
………………………………………………………………………………Son Nick was a huge help 
………………………………………………………………………………We’re almost experts! 
………………………………………………………………………………Starting the bench 
………………………………………………………………………………More digging 
………………………………………………………………………………8 tons of gravel! 
………………………………………………………………………………Two drain lines installed 

………………………………………………………………………………Bench going together 
………………………………………………………………………………Ready to start building the firepit 
………………………………………………………………………………Sizing it up with metal insert 
………………………………………………………………………………Firepit finished! 
………………………………………………………………………………More rock had to be removed 
Starting the patio 
………………………………………………………………………………Each patio block weighs over 50lbs.! 
………………………………………………………………………………Playing with my gravel bike 
………………………………………………………………………………View from the other end 
………………………………………………………………………………Getting close! 
………………………………………………………………………………Starting the woodshed 
………………………………………………………………………………This was fun! 
………………………………………………………………………………All finished and loaded 
………………………………………………………………………………Time to relax around a fire! 


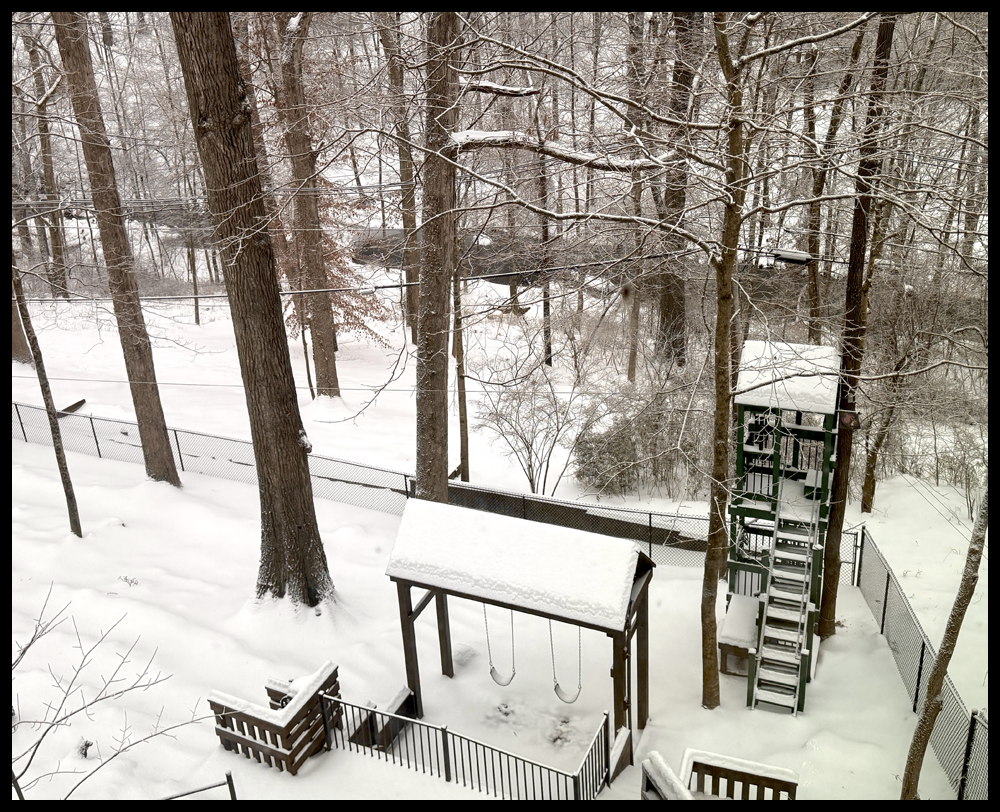
Swing Set
My wife had been bugging me for years to make the grandkids a swing set. Well, when the firepit was finished I took a good hard look at where I could put one. Our backyard is not exactly a toddlers paradise. I finally decided on a spot next to the steps that lead down to the bottom of the yard. I went to a nearby playground and measured how much room a person would need behind the swing to comfortably push a small kid. This was how much flat area we would need. It didn’t take long to figure out that we would be digging down nearly 4 feet at the back edge of the flat area. I knew from past experience that rocks and roots would be our nemesis. But I got out the pickaxe, shovels, and jackhammer and we started our project. Lets just say I’ve gotten my money’s worth out of the jackhammer purchase :-0
Swing Set Construction Slideshow
To watch the slideshow click on the arrow to the right of the pictures. There are 36 pictures. Some of them have written descriptions that appear near the bottom left of each picture.

………………………………………………………………………………………Excavating begins 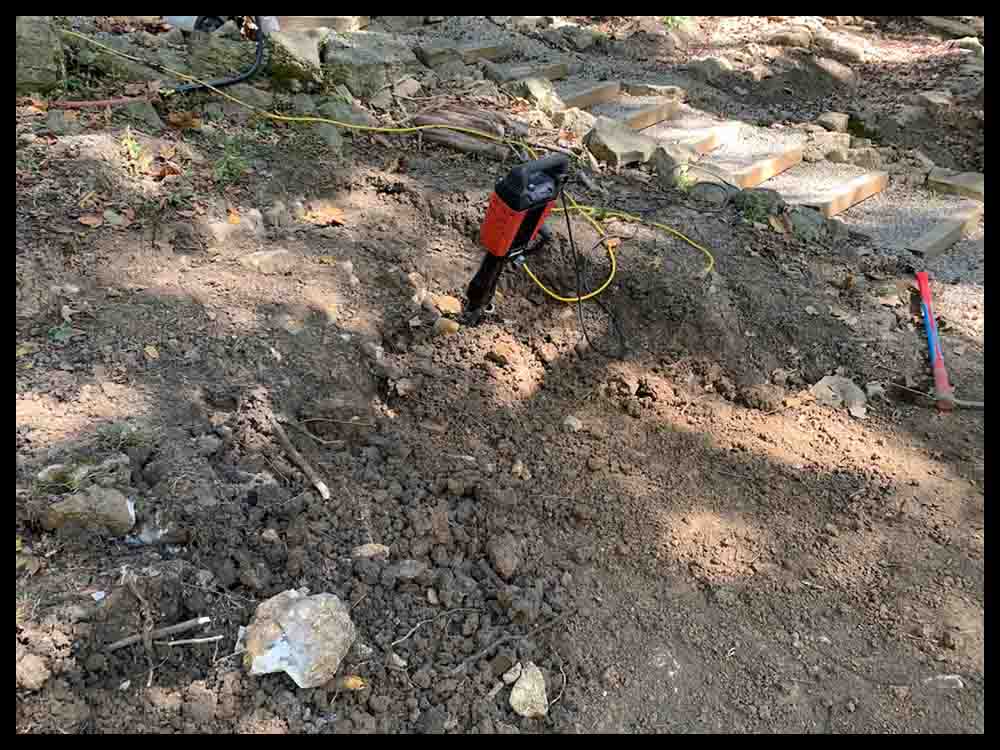
……………………………………………………………………………………….Rock and roots; bring out the jackhammer! 


………………………………………………………………………………………Digging complete 
………………………………………………………………………………………Back wall started 

………………………………………………………………………………………Ready to add railing 
………………………………………………………………………………………Railing complete 
………………………………………………………………………………………More wood! 
………………………………………………………………………………………6x6x12’s dropped down the steep slope 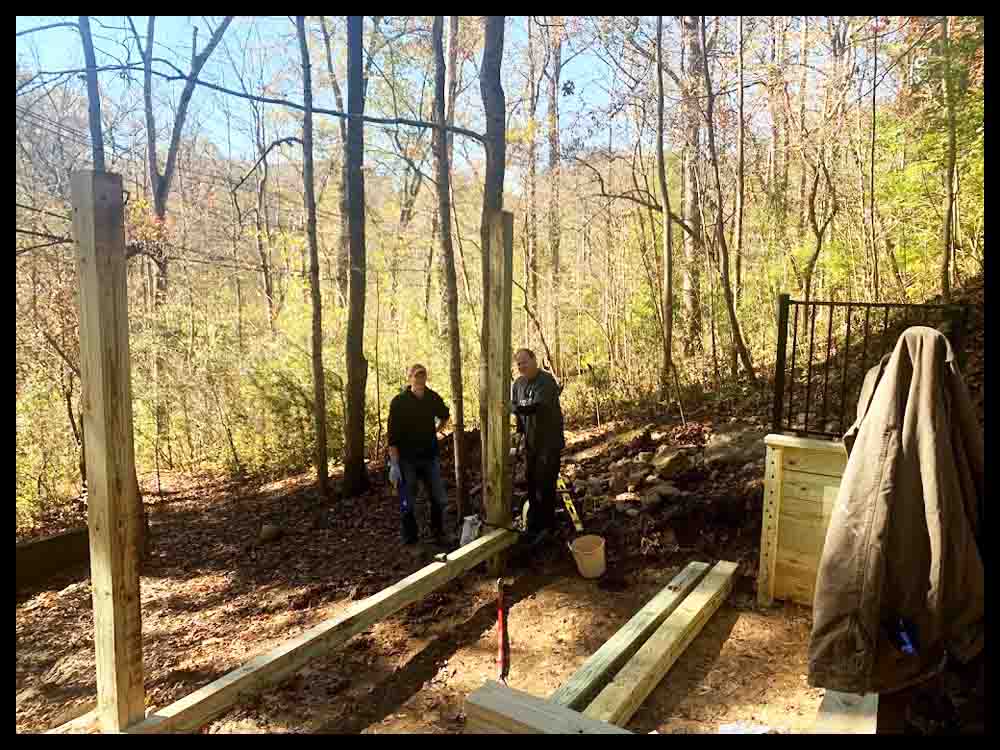
………………………………………………………………………………………Holes dug and 6x6s lowered into place 
………………………………………………………………………………………Concrete is set and frame going up 


………………………………………………………………………………………Swing hangers installed on main beam. 
………………………………………………………………………………………Hooking up to pulley system 

………………………………………………………………………………………Almost in position 
………………………………………………………………………………………First swinger! 
………………………………………………………………………………………Starting the roof 


………………………………………………………………………………………Roof complete 
………………………………………………………………………………………Clowning around 🙂 
………………………………………………………………………………………Future water hose station 
………………………………………………………………………………………And more wood $$$$$! 
………………………………………………………………………………………Made the stringers in garage 
………………………………………………………………………………………Digging the trench for the steps 

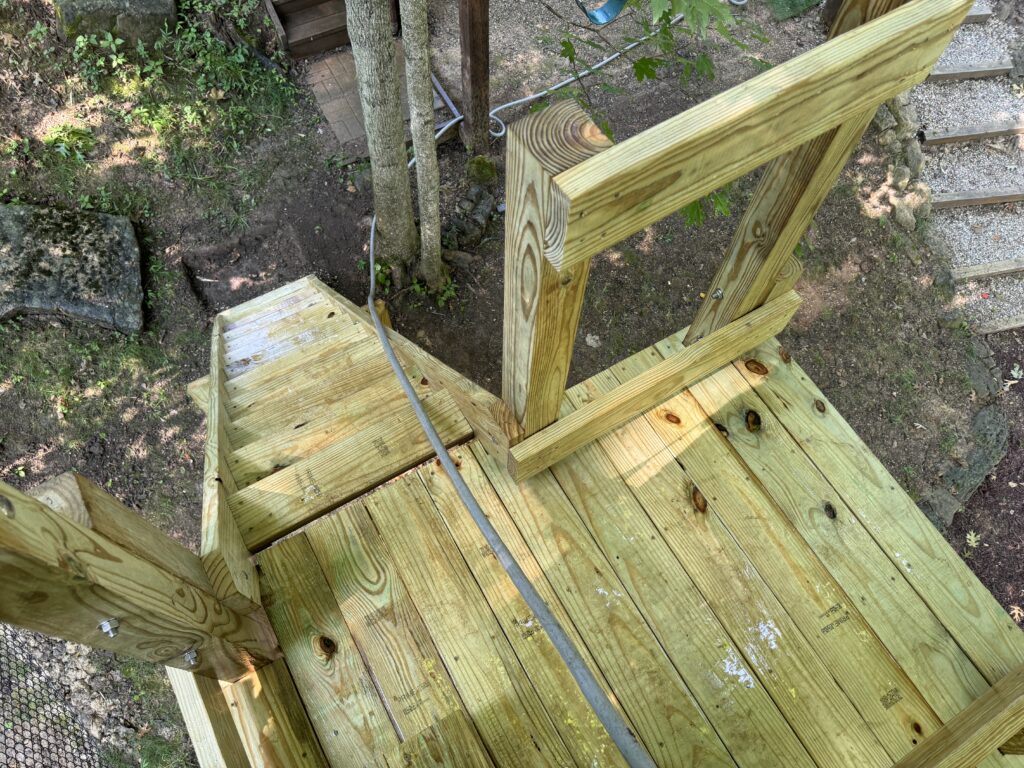
………………………………………………………………………………………Steps in position and screwed in place 

………………………………………………………………………………………Finishing up! 
………………………………………………………………………………………Bring on the winter! 
………………………………………………………………………………………Spring arrives and staining complete! 
………………………………………………………………………………………Time to relax…..
I left all the hard work to my wife!
Click the square in the lower right to watch any video on this page fullscreen.
Zipline
Our swingset had been finished for many months when I discovered the joy of ziplining while on a trip to Tortola in the Caribbean. A neighbor had installed one in his backyard and it didn’t appear to be that hard to build.
Before building the zipline, we fenced the whole yard in. We had been wanting to do that for years.
With the new fence in place, I was soon scanning the internet for zipline equipment. The back of our yard has a lot of trees, so I figured it would be fairly easy to make it work. But after looking at the pros and cons of various tree combinations, I decided that at the lower end I would have to “make” a tree to support the zipline cable.
My first purchase was a pile of treated lumber from one of the local home improvement stores. Of course, when digging the three holes for the “tree”, I ran into rock, just as I had in our previous projects. I was going to sell the jackhammer but fortunately (or perhaps unfortunately) 🙂 I still owned it. So lugged it down the hill to the bottom of the yard to help dig three holes.
Once the “tree” was finished I directed my attention to the other end of the yard where I would construct the tower for the starting point of the zipline. This is one of a few projects that was not started with a full set of drawn-up plans. I basically engineered the structure as it was assembled.
One thing I was certain of: This zipline would be as safe as I could build it. I purchased stainless steel carriage bolts, washers, and nuts. Galvanized would have been fine but that was not what I wanted, As the tower increased in height, I realized I wanted to add a small roof to match the swing set. With the use of scaffolding this was accomplished.
When I first decided to construct this project, I bought a typical starter kit that included a 100 foot roll of 3/16″ galvanized cable, cable clamps, a round disc attached to an adjustable rope, along with a cheap trolley and handle.
At this point there was no roof or guardrails on the steps I was building. Taking my first ride down the cable was a bit un-nerving as fears of bodily harm floated through my conscious. I was scared!
I didn’t die, however, but immediately my tool and die background kicked in and I decided everything would have to be bigger and stronger. The roof was added, along with handrails and better steps. I took the 3/16″ cable down and purchased a coil of 5/16″ stainless cable, along with a bigger turnbuckle that is used to tighten the cable to the proper tension. Next I added two “Bungee cord” ropes to augment the spring coil that served as the brake. Finally, after determining where a zipliner’s journey would end, I constructed a “landing” platform so a person could safely disembark after the ride was finished.
The final steps were to stain all the wood and decorate the structure with various knickknacks, bells, and animal bones found in the woods.
Goose Creek Tower of Terror Slideshow
To watch the slideshow click on the arrow to the right of the pictures. There are 29 pictures. Some of them have written descriptions that appear near the bottom left of each picture.

………………………………………………………………………………………Every hole that was dug encountered rocks that had to be broken up with a jackhammer. 
………………………………………………………………………………………First post in fake tree in place 


………………………………………………………………………………………Another trip to Menards 
………………………………………………………………………………………Construction of the main platform begins 

………………………………………………………………………………………Starting the steps 


………………………………………………………………………………………Galvanized pipe for the handrails 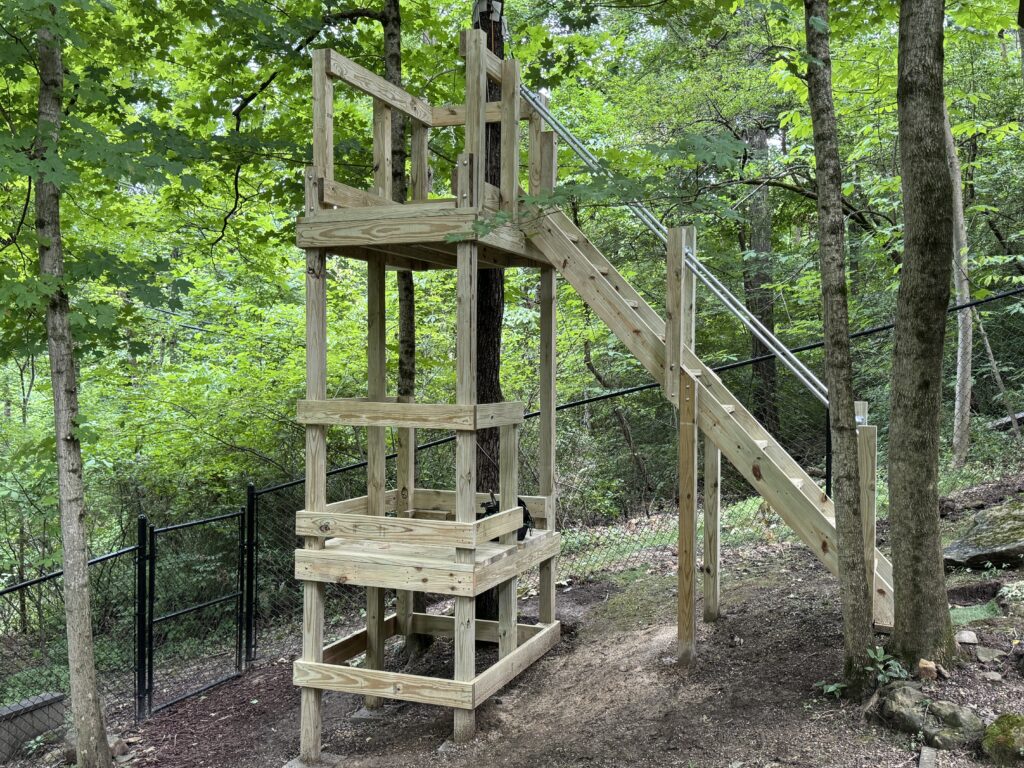


………………………………………………………………………………………Handrails finished 
………………………………………………………………………………………Landing platform in position 
………………………………………………………………………………………This stool is to help shorter kids at the end of the ride. 

………………………………………………………………………………………Construction of the roof 


………………………………………………………………………………………Roof boards slowly taking shape 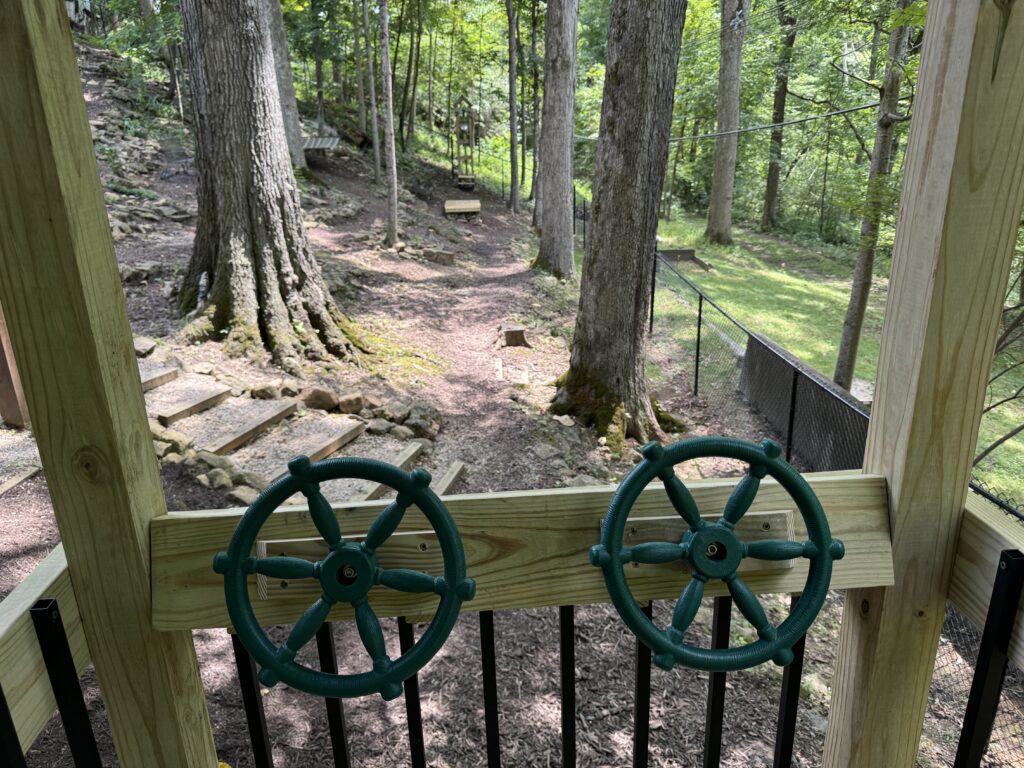
………………………………………………………………………………………Added steering wheels in the lower section for the kids 
………………………………………………………………………………………Starting a much-needed handrail for the steps down the yard 
………………………………………………………………………………………Last time I ever used my jackhammer 


Click on any picture below to see it in a separate window


Videos below may load slowly
SCREAMER!!
SPINNER!!
NIGHT RIDER!!
Gorilla Man loses his arm!!!
Too Much Fun!!

Let me out!!!
I wanna play, too!
Inside the Louisville Zoological Gardens